Summary
The MemberPress PDF Invoice add-on supports proforma invoices for recurring offline renewals by default. However, one-time (non-recurring) offline transactions that remain in a “Pending” status do not generate proforma invoices out of the box. This can be a problem for accounting teams that require an unpaid PDF document before approving a bank transfer.
This document provides a custom PHP snippet that extends proforma invoice support to pending one-time offline transactions. The snippet creates proforma records automatically, adjusts PDF wording and due dates, and keeps the “PDF Proforma Invoice” link available under Dashboard > MemberPress > Transactions.
Troubleshooting
Cause and Explanation
The MemberPress PDF Invoice add-on generates proforma invoices for offline renewal transactions. These renewals typically have transaction IDs prefixed with mp-rtxn-… and are tied to a subscription. One-time offline transactions have no subscription association. Because of this, the add-on does not treat them as proforma-eligible by default.
When a membership is sold as a one-time product with the offline payment gateway, the transaction stays “Pending” until payment is received. No “PDF Proforma Invoice” link appears in the transaction row actions. A standard PDF invoice for a completed card payment is not the same as a proforma document.
Prerequisites
The following requirements must be met before applying the solution.
- MemberPress plugin installed, activated, and up to date;
- MemberPress PDF Invoice add-on installed, activated, and up to date;
- Proforma invoices enabled for the offline gateway as described in the proforma invoices documentation;
- At least one membership configured as a one-time (non-recurring) product using the offline payment gateway;
- Access to a child theme
functions.php file or a code snippets plugin such as WPCode.
Important: Back up the site and database before adding any custom code. Test on a staging site first whenever possible. Custom code changes can cause conflicts with themes or other plugins.
Installing the Custom Snippet
The custom PHP snippet below extends proforma invoice functionality to pending one-time offline transactions. It performs the following actions:
- Creates a proforma record when a pending one-time offline transaction is stored;
- Adjusts the PDF wording and due date to reflect an unpaid proforma document;
- Keeps the “PDF Proforma Invoice” link visible in the transaction row actions;
- Removes the “Send Proforma Invoice” row action for these transactions (that action targets renewals and can fail for one-time pending rows).
Adding the Code via WPCode
To add the snippet using WPCode, follow the steps in the MemberPress WPCode guide.
- Navigate to Dashboard > Code Snippets > Add Snippet.
- Select Add Your Custom Code (New Snippet) and click Use Snippet.
- Enter a descriptive title (e.g., “MemberPress – Proforma for One-Time Offline Txns”).
- Set the Code Type to PHP Snippet.
- Paste the full code from the code block below into the code area.
- Under Insertion, set the method to Auto Insert and the location to Run Everywhere.
- Toggle the snippet to Active and click Save Snippet.
Note: The snippet must run everywhere (not “frontend only”). The “PDF Proforma Invoice” link appears under Dashboard > MemberPress > Transactions, which is a backend page. Setting the snippet to “frontend only” prevents the link from working in the admin area.
Adding the Code via Child Theme
Alternatively, add the snippet to the child theme functions.php file.
- Navigate to Dashboard > Appearance > Theme File Editor.
- Select the child theme from the theme dropdown.
- Open the
functions.php file.
- Paste the full code from the code block below at the end of the file.
- Click Update File.
Full Code Snippet
Copy and save the following code as one snippet or one include file.
<?php
/**
 * MemberPress – Proforma Invoices for Pending One-Time Offline Transactions
 *
 * Enables proforma invoice generation for one-time (non-recurring)
 * offline transactions that remain in "Pending" status.
 *
 * Requirements:
 *   - MemberPress (active, up to date)
 *   - MemberPress PDF Invoice add-on (active, up to date)
 *   - Proforma invoices enabled for the offline gateway
 */
add_action('plugins_loaded', function() {
  if (!class_exists('MeprTransaction') || !class_exists('MePdfProformaInvoiceNumber')) {
    return;
  }

  // --- Helper: Check if the transaction uses the offline gateway ---
  if (!function_exists('mpdf_one_time_pf_is_offline_gateway')) {
    function mpdf_one_time_pf_is_offline_gateway($txn) {
      if (!($txn instanceof MeprTransaction)) { return false; }
      if (method_exists($txn, 'payment_method')) {
        $pm = $txn->payment_method();
        if (is_object($pm)) {
          if (get_class($pm) === 'MeprArtificialGateway') { return true; }
          if (property_exists($pm, 'key') && $pm->key === 'offline') { return true; }
          if (
            property_exists($pm, 'settings') && is_object($pm->settings) &&
            isset($pm->settings->gateway) &&
            $pm->settings->gateway === 'MeprArtificialGateway'
          ) {
            return true;
          }
        }
      }
      if (is_string($txn->gateway) && strpos($txn->gateway, 'offline') === 0) {
        return true;
      }
      return false;
    }
  }

  // --- Helper: Check if the transaction is one-time, offline, and pending ---
  if (!function_exists('mpdf_one_time_pf_is_one_time_offline_pending')) {
    function mpdf_one_time_pf_is_one_time_offline_pending($txn) {
      if (!($txn instanceof MeprTransaction)) { return false; }
      if ($txn->status !== MeprTransaction::$pending_str) { return false; }
      if (!mpdf_one_time_pf_is_offline_gateway($txn)) { return false; }
      if (method_exists($txn, 'is_one_time_payment')) {
        if (!$txn->is_one_time_payment()) { return false; }
      } else {
        if (!empty($txn->subscription_id)) { return false; }
      }
      return true;
    }
  }

  // ---------------------------------------------------------------
  // 1) Create a Proforma number on pending one-time offline txns
  // ---------------------------------------------------------------
  add_action('mepr-txn-store', function($txn, $old_txn) {
    try {
      if (!mpdf_one_time_pf_is_one_time_offline_pending($txn)) { return; }
      if (MePdfProformaInvoiceNumber::find_invoice_num_by_txn_id($txn->id)) { return; }

      $pf_no = absint(MePdfProformaInvoiceNumber::next_invoice_num());
      if ($pf_no <= 0) { return; }

      // Due date: prefer txn->expires_at; else +N days (default 14)
      $days_due = apply_filters(
        'mepr_pdf_invoice_one_time_proforma_days_due', 14, $txn
      );
      $days_due = max(1, absint($days_due));

      $due_date = !empty($txn->expires_at)
        ? gmdate('Y-m-d 23:59:59', strtotime($txn->expires_at))
        : gmdate('Y-m-d 23:59:59', strtotime('+' . $days_due . ' days'));

      $pf = new MePdfProformaInvoiceNumber();
      $pf->invoice_number         = $pf_no;
      $pf->parent_transaction_id  = 0;
      $pf->transaction_id         = $txn->id;
      $pf->due_date               = $due_date;
      $pf->store();
    } catch (\Throwable $e) {
      // Silently fail; uncomment the line below for debugging:
      // error_log('[Proforma One-Time] ' . $e->getMessage());
    }
  }, 20, 2);

  // ---------------------------------------------------------------
  // 2) Enable Proforma treatment so UI labels and links apply
  // ---------------------------------------------------------------
  add_filter('mepr_pdf_invoice_test_renewal_email', function($bool, $txn) {
    if (!mpdf_one_time_pf_is_one_time_offline_pending($txn)) { return $bool; }
    if (!MePdfProformaInvoiceNumber::find_invoice_num_by_txn_id($txn->id)) {
      return $bool;
    }
    return true;
  }, 10, 2);

  // ---------------------------------------------------------------
  // 2.1) Replace renewal wording and show correct due date on PDF
  // ---------------------------------------------------------------
  add_filter('mepr_pdf_invoice_data', function($invoice, $txn) {
    if (!mpdf_one_time_pf_is_one_time_offline_pending($txn)) { return $invoice; }
    if (!MePdfProformaInvoiceNumber::find_invoice_num_by_txn_id($txn->id)) {
      return $invoice;
    }

    $days_due = apply_filters(
      'mepr_pdf_invoice_one_time_proforma_days_due', 14, $txn
    );
    $days_due = max(1, absint($days_due));

    $pf = MePdfProformaInvoiceNumber::find_by_txn_id($txn->id);
    $pf_due_ts  = ($pf && !empty($pf->due_date))
      ? strtotime($pf->due_date) : null;
    $txn_due_ts = !empty($txn->expires_at)
      ? strtotime($txn->expires_at) : null;
    $due_ts = $txn_due_ts
      ?: ($pf_due_ts ?: strtotime('+' . $days_due . ' days'));

    $invoice['invoice_due_date_ts'] = $due_ts;
    $due_text = date_i18n(get_option('date_format'), $due_ts);

    $payment_instructions = sprintf(
      __(
        'This is a pending invoice for your subscription. '
        . 'Payment is due by %s.',
        'memberpress-pdf-invoice'
      ),
      $due_text
    );

    $additional_desc = __(
      'Please log in to your account to complete payment '
      . 'or contact us for assistance.',
      'memberpress-pdf-invoice'
    );

    if (method_exists($txn, 'payment_method')) {
      $txn_pm = $txn->payment_method();
      if (
        is_object($txn_pm) &&
        property_exists($txn_pm, 'use_desc') &&
        $txn_pm->use_desc
      ) {
        $additional_desc = wpautop(
          esc_html(trim(stripslashes($txn_pm->desc)))
        );
      }
    }

    $instructions_block =
      '<strong>'
      . __('PAYMENT INSTRUCTIONS', 'memberpress-pdf-invoice')
      . ':</strong><br />'
      . wpautop(
          $payment_instructions . '<br /><br />' . $additional_desc
        );

    if (class_exists('MeprOptions')) {
      $mepr_options  = MeprOptions::fetch();
      $biz_notes_raw = $mepr_options->get_attr('biz_invoice_notes');
      $params        = MePdfInvoicesHelper::get_invoice_params($txn);
      $biz_notes     = MeprUtils::replace_vals($biz_notes_raw, $params);
    } else {
      $biz_notes = isset($invoice['notes']) ? $invoice['notes'] : '';
    }

    $invoice['notes'] = $instructions_block . ' <br />' . $biz_notes;
    return $invoice;
  }, 20, 2);

  // ---------------------------------------------------------------
  // 3) Hide "Send Proforma Invoice" row action for one-time pending
  //    (keep "PDF Proforma Invoice" link visible)
  // ---------------------------------------------------------------
  add_filter('mepr_admin_txn_row_action_links', function($links, $rec, $txn) {
    if (!($txn instanceof MeprTransaction)) { return $links; }
    if (mpdf_one_time_pf_is_one_time_offline_pending($txn)) {
      unset($links['send_renewal_invoice']);
    }
    return $links;
  }, 100, 3);

  // ---------------------------------------------------------------
  // 4) Optional backfill – run once via:
  //    /wp-admin/?mpdf_one_time_pf_backfill=1
  //    Delete this section if backfill is not needed.
  // ---------------------------------------------------------------
  add_action('admin_init', function() {
    if (!current_user_can('manage_options')) { return; }
    if (!isset($_GET['mpdf_one_time_pf_backfill'])) { return; }

    $db = new MeprDb();
    global $wpdb;

    $results = $wpdb->get_col(
      "SELECT id FROM {$db->transactions} "
      . "WHERE status = 'pending' ORDER BY id DESC"
    );
    if (empty($results)) { return; }

    foreach ($results as $id) {
      $txn = new MeprTransaction($id);
      if (!mpdf_one_time_pf_is_one_time_offline_pending($txn)) { continue; }
      if (MePdfProformaInvoiceNumber::find_invoice_num_by_txn_id($txn->id)) {
        continue;
      }

      $pf_no = absint(MePdfProformaInvoiceNumber::next_invoice_num());
      if ($pf_no <= 0) { continue; }

      $days_due = apply_filters(
        'mepr_pdf_invoice_one_time_proforma_days_due', 14, $txn
      );
      $days_due = max(1, absint($days_due));

      $due_date = !empty($txn->expires_at)
        ? gmdate('Y-m-d 23:59:59', strtotime($txn->expires_at))
        : gmdate('Y-m-d 23:59:59', strtotime('+' . $days_due . ' days'));

      $pf = new MePdfProformaInvoiceNumber();
      $pf->invoice_number         = $pf_no;
      $pf->parent_transaction_id  = 0;
      $pf->transaction_id         = $txn->id;
      $pf->due_date               = $due_date;
      $pf->store();
    }
  });
});
Code Explanation
The snippet contains four numbered sections. Each section hooks into a different part of the MemberPress and PDF Invoice workflow.
Section 1 – Create a Proforma Number: Hooks into mepr-txn-store. When a transaction is stored, the snippet checks whether it is a pending, one-time, offline transaction. If so, and if no proforma record exists yet, it creates one. The due date defaults to 14 days from the creation date, or uses the transaction expiration date if available.
Section 2 – Enable Proforma Treatment: Filters mepr_pdf_invoice_test_renewal_email. This tells the PDF Invoice add-on to treat the transaction as proforma-eligible. The proforma UI labels and links then become visible.
Section 2.1 – Adjust PDF Wording: Filters mepr_pdf_invoice_data. Replaces renewal-specific wording on the PDF with payment instructions and a due date. If the offline gateway has a custom description configured, that description appears on the PDF as well.
Section 3 – Hide “Send Proforma Invoice” Row Action: Filters mepr_admin_txn_row_action_links. Removes the “Send Proforma Invoice” action from one-time pending rows. That send action targets renewals and can fail for one-time transactions. The “PDF Proforma Invoice” link remains visible.
Section 4 – Optional Backfill: Runs on admin_init. An administrator can visit a special URL once to create proforma records for existing pending one-time offline transactions that do not have one yet. This section can be deleted before saving the snippet if backfill is not needed.
Running the Optional Backfill
After saving and activating the snippet, an administrator can create proforma records for existing pending transactions.
- Log in to the WordPress admin with an administrator account.
- Visit the following URL in the browser (replace the domain with the actual site domain):
https://[[YOUR-DOMAIN]].com/wp-admin/?mpdf_one_time_pf_backfill=1
- The page loads normally. Proforma records are created in the background for all qualifying transactions.
Note: The backfill is safe to run more than once. It skips transactions that already have a proforma record. Running it once is typically sufficient.
Changing the Default Due Date Offset
If a transaction has no expiration date stored, the snippet defaults to 14 days from the date the proforma record is created. Developers can override this value using the following WordPress filter:
/**
 * MemberPress – Change the default proforma due date offset
 *
 * Change the value on the line below (30) to set
 * a different number of days.
 */
add_filter('mepr_pdf_invoice_one_time_proforma_days_due', function($days, $txn) {
  // Change 30 to the desired number of days
  return 30;
}, 10, 2);
The filter name is mepr_pdf_invoice_one_time_proforma_days_due. It receives two parameters: the current number of days (integer) and the transaction object. The returned value must be a positive integer.
Verification Steps
After installing the snippet, verify that proforma invoices are generated correctly.
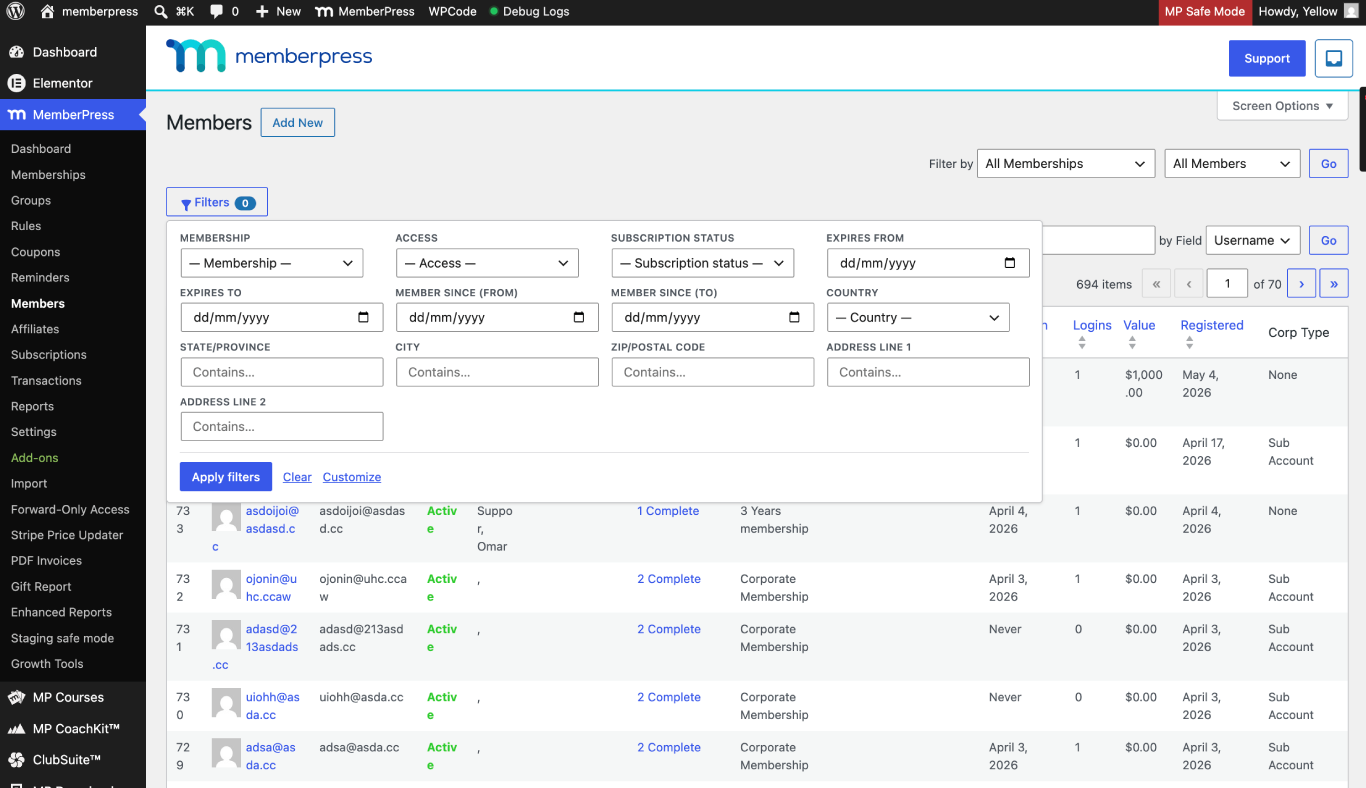
- Navigate to Dashboard > MemberPress > Transactions.
- Locate a pending one-time offline transaction, or create a new one by registering a test user for a one-time offline membership.
- Hover over the transaction row.
- Confirm that a “PDF Proforma Invoice” link appears in the row actions.
- Click the “PDF Proforma Invoice” link.
- Verify that the PDF opens and displays an unpaid proforma-style document with the correct due date and payment instructions.
- Confirm that the “Send Proforma Invoice” action does not appear for this transaction.
Known Limitations
- This snippet targets pending, one-time, offline transactions only. It does not change how Stripe, PayPal, or other gateways behave;
- It does not cover the first charge of a recurring offline subscription, which involves different behavior and may need a separate approach;
- The “Send Proforma Invoice” email action is intentionally removed for one-time pending rows because that path is designed for renewals;
- If the MemberPress PDF Invoice add-on is deactivated or uninstalled, the snippet has no effect;
- Custom code is provided as-is. MemberPress cannot guarantee compatibility with every theme or plugin, maintain this snippet, or debug customizations as part of standard support. Remove the snippet if a conflict arises. For ongoing development needs, consider hiring a developer.
Important: This snippet is an optional customization. It is not part of the default MemberPress product. Standard MemberPress support does not cover custom code troubleshooting
Public Facing Documentation / Additional References
Public Facing Documentation
Developer Documentation